Bootstrap Checkbox State
Intro
In some instances the simplest things might become extremely critical-- specifically each time you come to need them. As an example exactly how do your website visitors communicate with the web pages you generate stating a basic Boolean act-- just yes or no regarding a number of the issues you need to request, how they do approve the conditions and terms or perhaps line up a handful of the feasible choices they might have. We normally get past this with no paying much of an attention to the feature chargeable for these sorts of activities but the Bootstrap Checkbox Position is really a pretty critical feature-- one our forms cannot actually do without.
Inside the most updated fourth edition of the Bootstrap platform we are supplied with the
.form-check.form-check-label<div>.form-check.form-check-label<label><input>.form-check-inputThe best way to put into action the Bootstrap checkbox:
Bootstrap's
.button<label>data-toggle=" buttons".btn-group
<div class="btn-group" data-toggle="buttons">
  <label class="btn btn-primary active">
    <input type="checkbox" checked autocomplete="off"> Checkbox 1 (pre-checked)
  </label>
  <label class="btn btn-primary">
    <input type="checkbox" autocomplete="off"> Checkbox 2
  </label>
  <label class="btn btn-primary">
    <input type="checkbox" autocomplete="off"> Checkbox 3
  </label>
</div>
Once in a while we need to have the checkboxes to arrive inside our forms without the user really being capable to have any sort of practice clicking on them-- that is actually where exactly the disabled option appears.
In order to disable properly a checkbox in Bootstrap 4 working with the common HTML attribute
disabledIn case you really like the suggestion and clearly wish to carry this out you must assign the
.disabled.form-checkOne more representation
Anytime applying checkboxes, wrap them in a
<label>.custom-control.custom-checkboxEmploy
.custom-control-input<input>Additionally work with two
<span>.custom-control-indicator.custom-control-description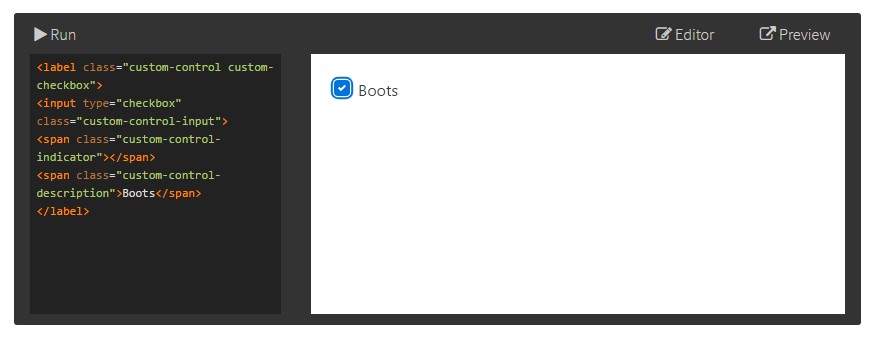
<label class="custom-control custom-checkbox">
<input type="checkbox" class="custom-control-input">
<span class="custom-control-indicator"></span>
<span class="custom-control-description">Boots</span>
</label>
Bootstrap Checkbox Field forms
Default radios and checkboxes are developed upon with the support of
.form-checkDisabled checkboxes and radios are maintained, but to supply a
not-allowed<label>.disabled.form-checkA fresh element for the Bootstrap edition 4 framework is the launch of the so called customized form features. These are the similar features we are familiar with within practicality however styled a lot more pleasing and in the Bootstrap way. Having them you can surely bring in certain excitement as well as charm to your content via just appointing a handful of special classes to the controls you involve in your forms.
To apply custom-made checkboxes wrap them within a
<label>.custom-control.custom-checkbox<input>.custom-control-input<span>.custom-control-indicator.custom-control-descriptionFinal thoughts
That's mostly all that you should produce in order to set a checkbox element in your Bootstrap 4 powered website page and put in a number of custom flavor to it adding it a nice appeals. Currently everything you require to do is repeat the practice until you've reviewed all of the checkboxes desired are currently on the web page.
Take a look at a couple of video information about Bootstrap checkbox
Related topics:
Bootstrap checkbox formal documentation

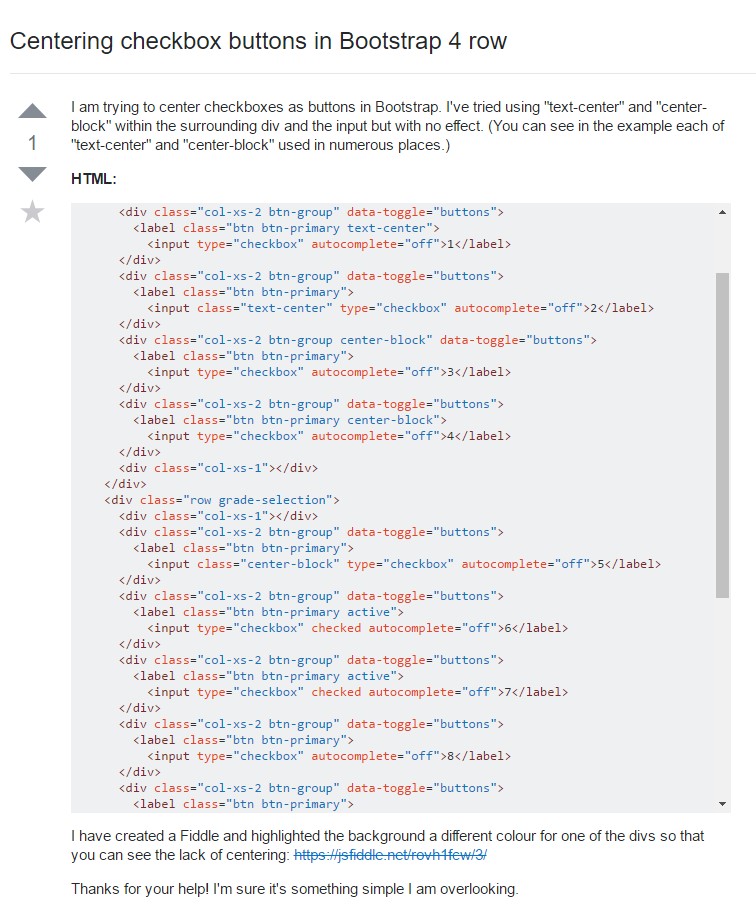
Centering checkbox buttons in Bootstrap 4 row
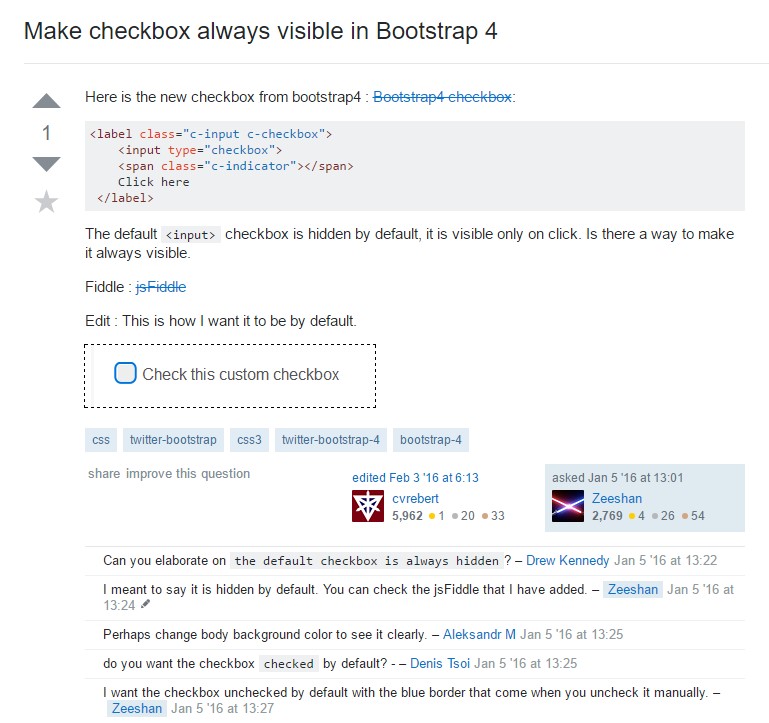
Make checkbox always visible in Bootstrap 4